

paper plates to make into a cone shape
baking soda
vinegar
water
sequins
food coloring
bowl, spoon, a tray to put in the freezer
squirt bottle, eyedropper, or baster
STEP 1. You are making a moldable baking soda mixture but you don’t want to end up with oobleck either! Slowly add just enough water so that you can pack it together and it doesn’t fall apart. Glitter and sequins make a fun addition!
A packable and somewhat moldable texture is desired! Too soupy and it won’t have a great fizz either!
STEP 2. You can use paper plates shaped into a cone for your tree mold. Or if you have access to those pointed snow cone wrapper cups, those are a quick option too.
It would make a great STEM challenge to fashion the round plate into a cone shape!
STEP 3. Pack the baking soda mixture tightly into the cone shapes! You can even hide a small plastic figure or toy inside. How about a tiny Santa?
STEP 4. Freeze for a few hours or make the day before! The more frozen they are, the longer it will take to melt the fizzy trees!
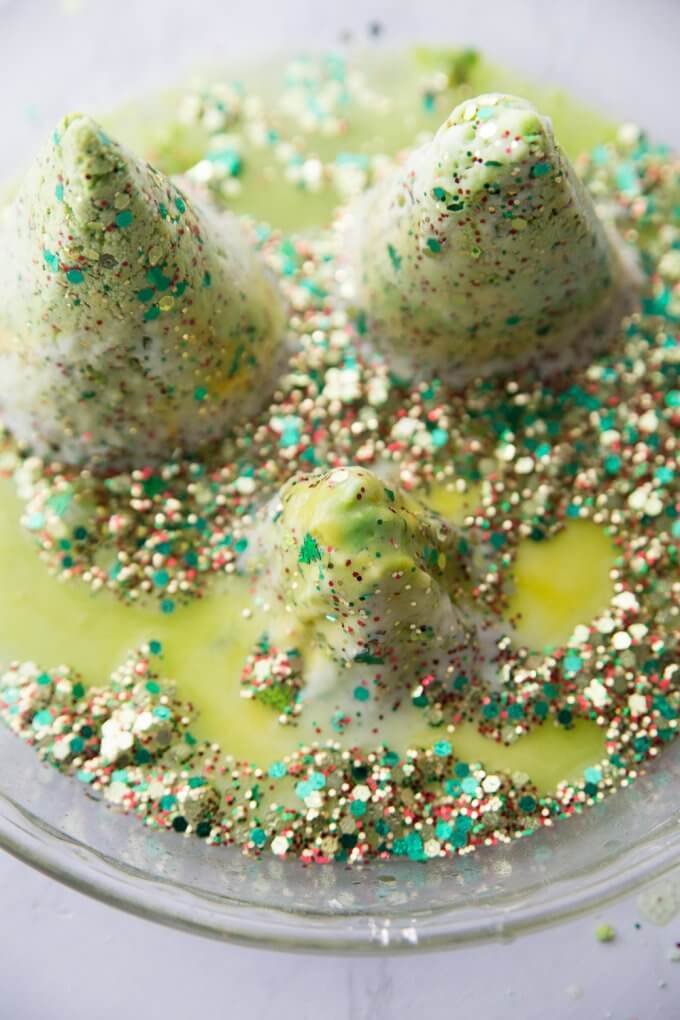
STEP 5. Take out your Christmas trees from the freezer and remove the paper wrapper! They can be left out for a bit first if you need them to warm up a bit and your activity time is limited.
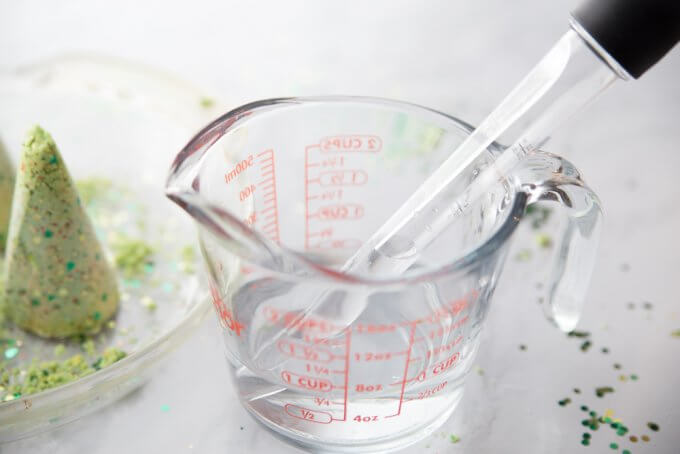
STEP 6. Set out a bowl of vinegar and baster or squirt bottle for the kids to melt their baking soda Christmas trees.
Optionally, you can color the vinegar green as well. If you need to speed up the melting process, add a bit of hot water to the vinegar!
Fluffy Candy cane slime
You will be making two batches of your candy cane slime {or more if you want additional colors}. Color one of the batches red, remember you will need enough food coloring to make a deeper shade of red since you are mixing it with so much white glue and shaving cream. The second batch will be white which comes from the glue and shaving cream.
1/2 cup of PVA White School Glue
3 Cups of Foam Shaving Cream
1/2 tsp baking soda
Food Coloring
1 tbsp of saline solution
STEP 1: Add 3 cups of foam shaving cream to a bowl.
STEP 2: Add food coloring as desired.
STEP 3: Mix in a 1/2 cup of white washable school glue.
STEP 4: Stir in 1/2 tsp baking soda
STEP 5: Mix in 1 tbsp saline solution and stir until slime forms and pulls away from sides of bowl.
If your slime still feels too sticky, you may need a few more drops of saline solution. Start by squirting a few drops of the solution onto your hands and kneading your slime longer. You can always add but you can’t take away. Saline solution is preferred over contact solution.


 The Christmas Shoes by
  The Christmas Thief by
  A Christmas Carol by
  The Christmas Gift by
  The Christmas Hope by
  The Polar Express by The Hanukkah Book by Kwanzaa by A Kwanzaa Holiday Cookbook by
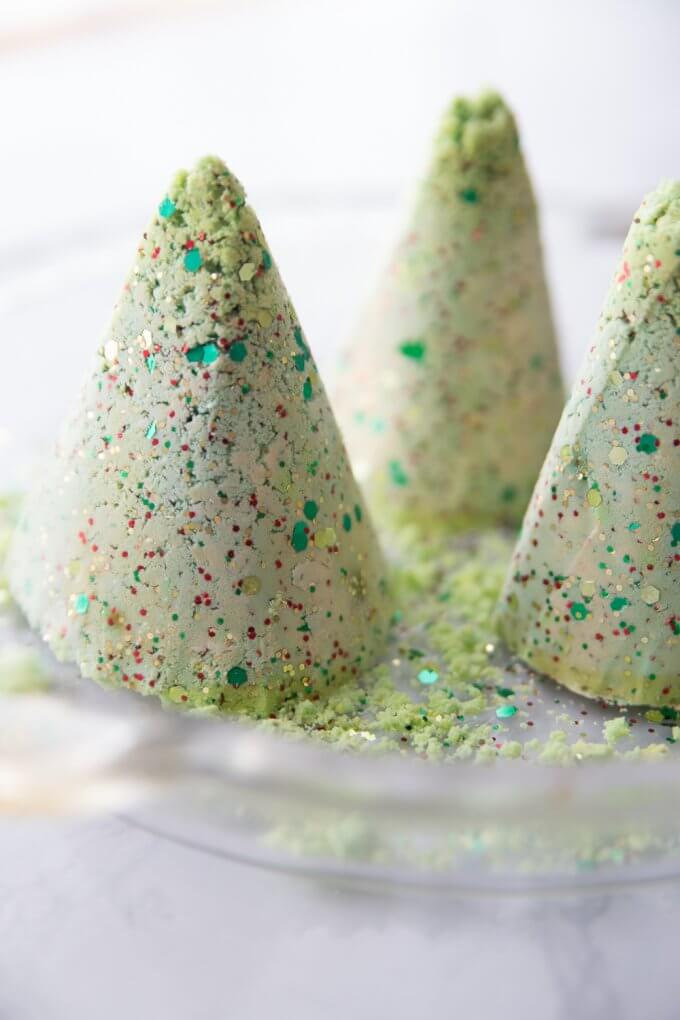


